Have you ever placed a trade only to watch the market immediately reverse against you? Or wondered why price seems to gravitate toward certain levels before making dramatic moves? Welcome to the fascinating world of liquidity zones—one of trading’s most powerful yet misunderstood concepts.
As someone who’s been trading for years, I can tell you that understanding liquidity zones transformed my approach to markets. Honestly, this concept worried me when I first encountered it—it seemed too technical, too insider-ish. But once I grasped it? Game-changer.
Let’s unpack this crucial trading concept together, shall we?
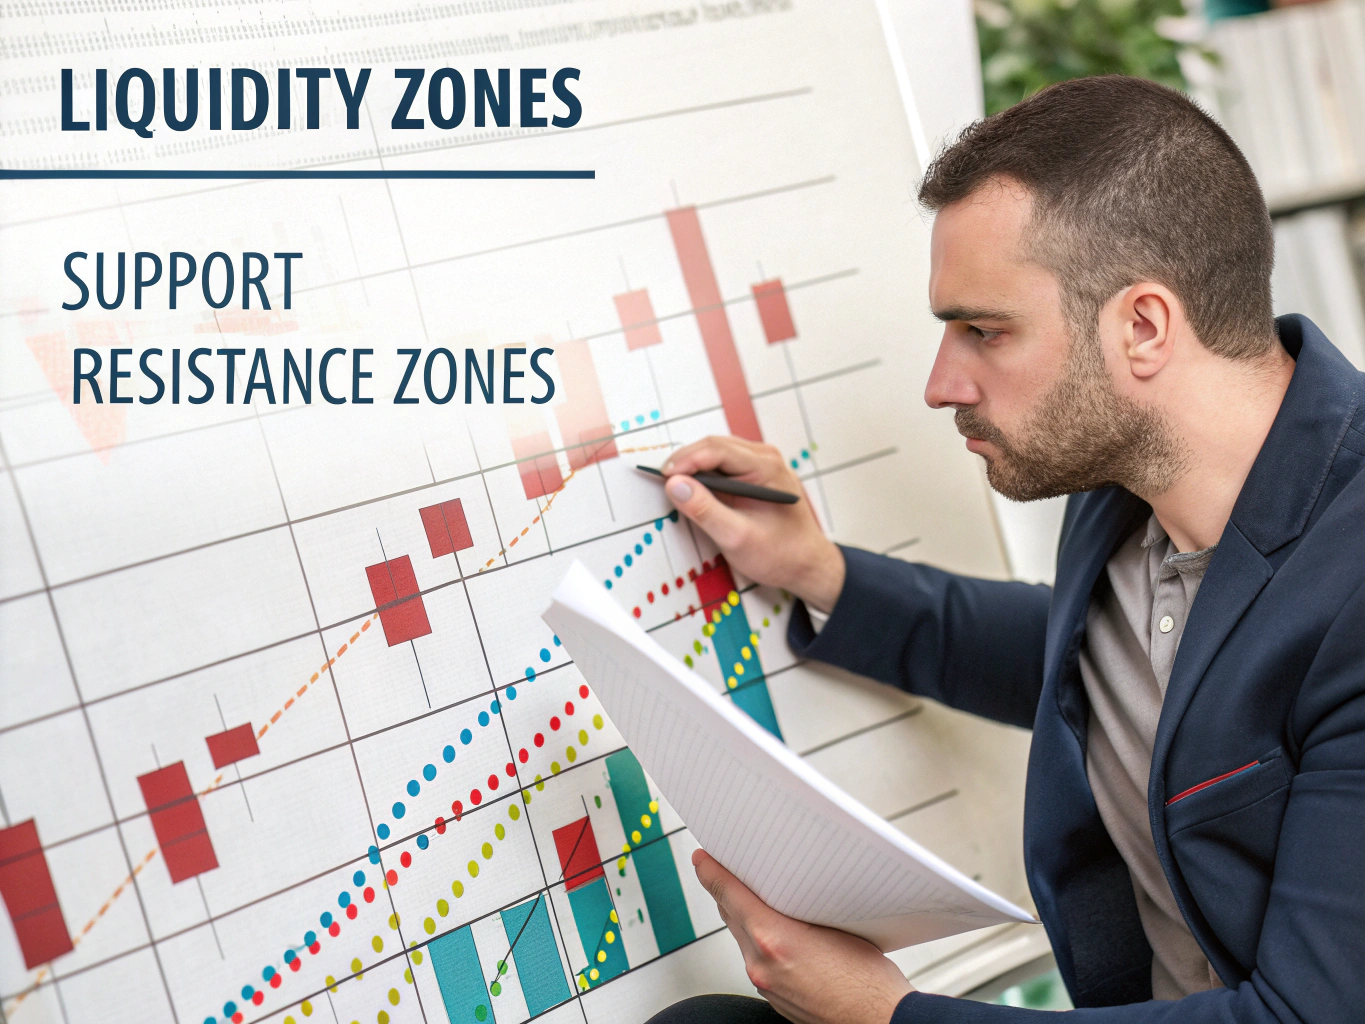
What Are Liquidity Zones and Why Are They Important?
Liquidity zones are areas in the market where a high concentration of buy or sell orders exists. Think of them as pools of money waiting to be tapped into. These zones typically form around significant price levels such as support and resistance, swing highs and lows, or key psychological numbers.
Here’s the deal: markets need liquidity to move efficiently. When large institutional traders (the “smart money”) want to enter or exit positions, they need sufficient order flow to execute their trades without causing dramatic price shifts. This is where liquidity zones come into play.
The importance of liquidity zones boils down to three key factors:
- Trade Execution: Higher liquidity means less slippage and better fill prices
- Market Dynamics: Price often moves toward liquidity before continuing its trend
- Predictive Power: Understanding where liquidity exists helps anticipate potential market movements
Side note: I once ignored a major liquidity zone while trading EUR/USD and watched in horror as my stop loss got taken out by a quick sweep before the price continued in my anticipated direction. That painful lesson cost me, but it cemented my respect for these zones!
The Role of Liquidity Zones in Trading Strategies
Successful traders don’t fight the market—they align themselves with its natural flow. Liquidity zones form a crucial part of this alignment strategy.
In my experience, incorporating liquidity zones into your trading approach offers several advantages:
- Enhanced Entry Points: Entering after liquidity sweeps often provides better risk-reward ratios
- Improved Stop Placement: Positioning stops beyond liquidity zones reduces the chance of being “stopped out” before the market moves in your favor
- Better Risk Management: Understanding where large players might push price helps you manage position sizing appropriately
Wait—there’s more to this story. Liquidity zones aren’t just theoretical concepts; they’re practical tools that can be identified and leveraged in real-time trading. Let’s explore the different types you need to know.
7 Types of Liquidity Zones Every Trader Should Know
Not all liquidity zones are created equal. Each type has its own characteristics and implications for your trading strategy. Here are the seven most important types you should be familiar with:
1. Stop Loss Liquidity Zones
These zones form where clusters of stop loss orders accumulate, typically just beyond obvious support or resistance levels. When price approaches these areas, it often “hunts” these stops before reversing.
I’ve noticed that these zones are particularly powerful in forex markets during low-volume periods. The EUR/USD pair, for example, frequently exhibits stop hunting behavior during the Asian session—something I learned the hard way!
2. Limit Order Liquidity Zones
These zones contain unfilled limit orders (buy limits below current price or sell limits above). They often act as magnets for price, especially when the market needs to fill large institutional orders.
3. Equal Highs and Lows
When price creates multiple touches at the same level (creating equal highs or equal lows), it forms a natural liquidity zone. Breaking these levels often triggers a cascade of orders.
4. Order Blocks
These are areas where significant buying or selling pressure previously occurred, often preceding strong moves. These zones frequently contain unfilled orders that can fuel future price movements.
5. Fair Value Gaps (FVGs)
These occur when price jumps or gaps, leaving an imbalance between buyers and sellers. The market frequently returns to these zones to “fill the gap” and restore equilibrium.
6. Swing Point Liquidity
Major swing highs and lows attract liquidity as traders place orders around these obvious levels. Breaking these points often leads to extended moves as stops are triggered.
7. Round Number Liquidity
Psychological levels (like 1.2000 in EUR/USD or $50,000 in Bitcoin) naturally attract orders and therefore liquidity. These zones are particularly important during trending markets.
Personally, I think order blocks are the most reliable liquidity zones to trade. I’ve built a significant portion of my strategy around identifying these zones and waiting patiently for price to return to them.
How to Identify and Utilize Each Type of Liquidity Zone
Identifying liquidity zones requires both technical analysis skills and an understanding of market psychology. Here’s how to spot and use each type effectively:
For Stop Loss Liquidity:
- Look for obvious support/resistance levels where traders likely place stops
- Watch for quick price spikes beyond these levels followed by reversals
- Enter trades after the liquidity sweep, when price begins moving in the opposite direction
For Limit Order Liquidity:
- Identify areas where unfilled orders might exist (previous reaction points)
- Look for price consolidation near these levels as orders are being filled
- Consider entering when price begins to move away from these zones
For Equal Highs/Lows:
- Mark areas where price has made multiple touches at the same level
- Watch for a break of these levels and potential continuation
- Consider entering after a successful retest of the broken level
What really blows my mind is how consistently these patterns play out across different markets and timeframes. Whether you’re trading forex, stocks, or crypto, liquidity zones maintain their relevance—it’s almost eerie!
Mastering Liquidity Sweeps: Techniques for Successful Trading
A liquidity sweep occurs when price temporarily moves beyond a significant level to trigger stop losses or limit orders before reversing. It’s essentially the market’s way of “collecting” available liquidity before continuing its intended direction.
What Is a Liquidity Sweep and Its Impact on Market Movements?
Liquidity sweeps are characterized by:
- Quick, sharp movements beyond key levels
- Relatively high volume during the sweep
- A prompt reversal after the liquidity is “collected”
These sweeps often signal that smart money is positioning for a move in the opposite direction. By triggering retail traders’ stop losses, institutions can enter positions at more favorable prices.
I struggled with this concept at first, often mistaking liquidity sweeps for genuine breakouts. My initial mistake was trying to chase these moves, only to find myself on the wrong side when the market reversed.
Strategies to Leverage Liquidity Sweeps in Your Trading
Here’s a practical approach to trading liquidity sweeps:
- Identify Potential Sweep Zones: Look for areas with clustered stop losses or limit orders
- Wait for the Sweep: Allow price to move into the zone and trigger the orders
- Confirm the Reversal: Look for reversal candlestick patterns or divergences
- Enter with Tight Stops: Place your entry after confirmation with a stop beyond the sweep’s extreme
- Target the Origin: Set profit targets at the origin of the sweep or at the next significant level
Let me walk you through an example: Last year, I spotted a classic liquidity sweep on the USD/JPY 4-hour chart. Price had formed a series of equal lows around 108.50, creating an obvious liquidity zone. When price sharply broke below this level to 108.30, I waited instead of panicking. Sure enough, within two hours, price reversed and rallied nearly 100 pips. By entering after the sweep was confirmed, I secured a 3:1 reward-to-risk trade.
Identifying Liquidity Zones in Forex Trading
The forex market, with its massive daily volume and 24-hour nature, provides abundant opportunities to trade liquidity zones. However, it also has some unique characteristics that traders should understand.
Key Indicators for Spotting Liquidity Zones in Forex Markets
When trading forex, pay special attention to:
- Volume Profile: Although true volume isn’t available in forex, volume indicators can help identify areas of interest
- Market Structure: Identify higher timeframe support/resistance levels where liquidity naturally accumulates
- Session Transitions: Liquidity often concentrates during handovers between major trading sessions (London open, New York close, etc.)
- COT Reports: Commitment of Traders reports can provide insights into institutional positioning
Frankly, I’ve found that combining price action analysis with an understanding of market structure is the most reliable approach for identifying forex liquidity zones. Technical indicators can help, but they’re secondary to understanding the “why” behind price movements.
Case Studies: Successful Trades Using Liquidity Zones in Forex
Case Study 1: GBP/USD Daily Timeframe
In March 2023, GBP/USD formed a series of equal lows around 1.1850. This created an obvious liquidity zone that institutional traders could target. When price eventually swept below this level to 1.1820, it quickly reversed and rallied over 200 pips in the following days. Traders who recognized this liquidity sweep could have entered long positions with minimal risk.
Case Study 2: EUR/USD Order Block
On the EUR/USD 4-hour chart, a significant order block formed at 1.0850-1.0870 before price rallied 150 pips. When price eventually returned to this zone three weeks later, it provided an excellent entry opportunity. The previous order block contained unfilled liquidity that, once accessed, fueled another upward move.
This reminds me… I once missed a perfect order block setup on USD/CAD because I was overthinking the entry. The lesson? Sometimes you need to trust your analysis and execute when price reaches the identified liquidity zone.
Using LuxAlgo to Enhance Your Trading with Liquidity Zones
Technology has made identifying liquidity zones more accessible than ever. LuxAlgo, a popular suite of trading indicators, offers powerful tools specifically designed for liquidity analysis.
A Step-by-Step Guide to Implementing LuxAlgo for Liquidity Analysis
- Install the LuxAlgo Suite: Purchase and install the LuxAlgo indicator package on your preferred trading platform
- Set Up the Liquidity Detector: Configure the indicator to match your trading timeframe and preferences
- Customize Visual Settings: Adjust colors and styles to clearly distinguish between different types of liquidity zones
- Combine with Order Blocks: Use LuxAlgo’s order block indicator alongside liquidity detection for comprehensive analysis
- Set Alerts: Configure notifications for when price approaches identified liquidity zones
The beauty of LuxAlgo is that it automates much of the technical analysis, allowing you to focus on the strategic aspects of trading. It’s like having a professional analyst working alongside you, highlighting potential opportunities.
Benefits of Using LuxAlgo for Identifying Liquidity Zones
LuxAlgo offers several advantages over manual analysis:
- Consistency: The algorithm applies the same criteria across all charts and timeframes
- Efficiency: Quickly identifies liquidity zones that might take hours to spot manually
- Visualization: Clearly displays different types of liquidity zones with customizable graphics
- Integration: Works seamlessly with other technical analysis tools and indicators
Yikes! I should mention that while LuxAlgo is powerful, it’s not a magic bullet. I’ve seen traders become overly dependent on indicators without understanding the underlying concepts. Always use these tools to enhance your analysis, not replace your thinking.
Conclusion: Putting Liquidity Zones to Work in Your Trading
Understanding and leveraging liquidity zones can dramatically improve your trading results. By recognizing where significant orders accumulate and how large players interact with these zones, you can position yourself on the right side of major market moves.
To implement these concepts effectively:
- Start by identifying major liquidity zones on your charts
- Practice recognizing different types of zones and their characteristics
- Begin with demo trading to test strategies around liquidity sweeps
- Gradually incorporate these concepts into your live trading
- Continuously refine your approach based on results
Remember, trading liquidity zones isn’t about predicting the future—it’s about understanding market structure and positioning yourself advantageously. It’s about probability, not certainty.
Boom! You now have a comprehensive understanding of liquidity zones and how to use them in your trading. Whether you’re a forex trader, stock investor, or crypto enthusiast, these concepts apply across all markets.
Have you already been using liquidity zones in your trading? Or is this concept new to you? Try implementing some of these techniques in your analysis this week and see if you notice a difference in how you perceive market movements. Your trading journey might never be the same again!


